How cases are Organised
The staff portal is divided into a series of sections. Each one displays complaint cases at a different stage.
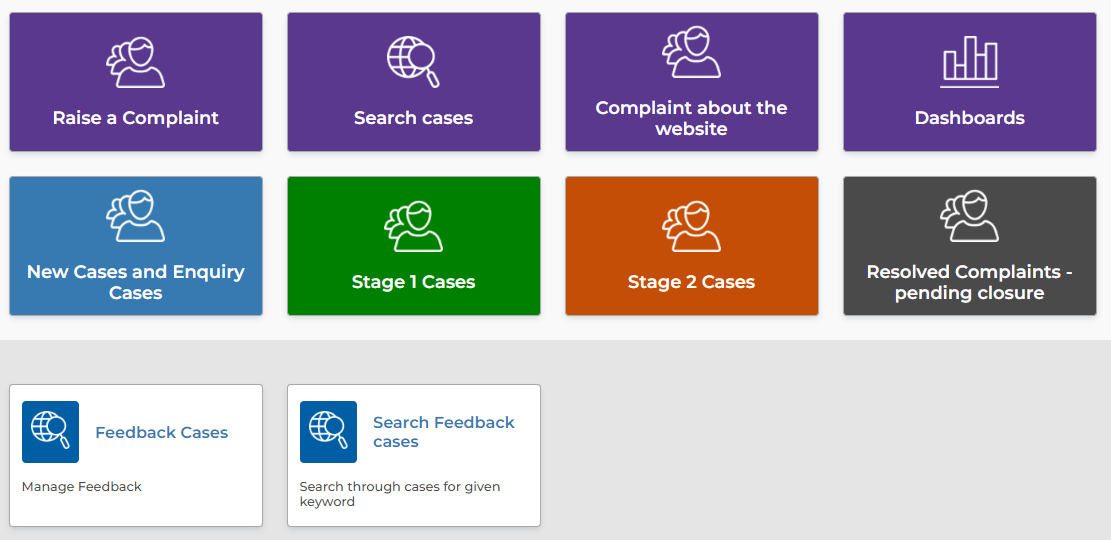
Within each section you'll see lists of complaint cases as a series of tasks that need to be completed.
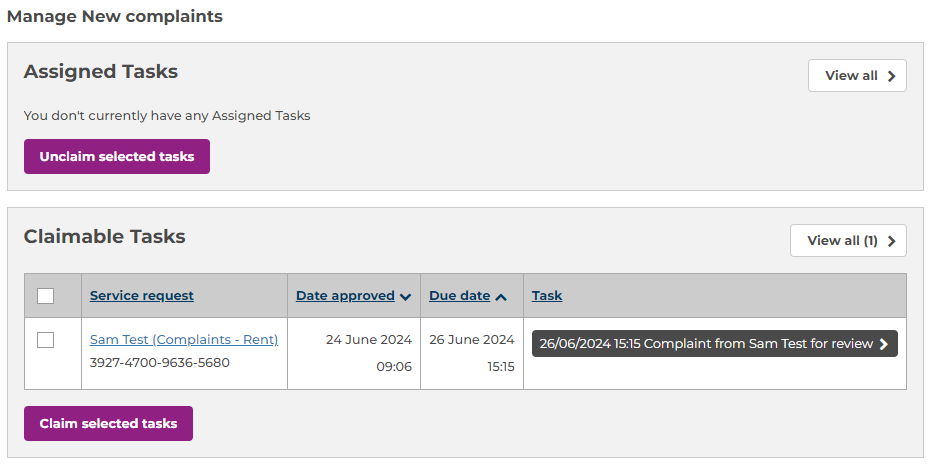
Complaints that aren't currently being worked on are listed in the claimable tasks table. When someone starts working on a complaint, it moves into their assigned tasks panel and can't be seen by anyone else. Only one person can work on a task at a time.
The links in the left-hand column display a summary of the complaint. The buttons in the right-hand column open the complaint to be worked on.
Technical Note
The Self Service Articles section of the technical information describes how these pages are set up.
Working on a Case
Once you have opened a complaint case, you'll see the main case view, which is organised in a series of tabs:
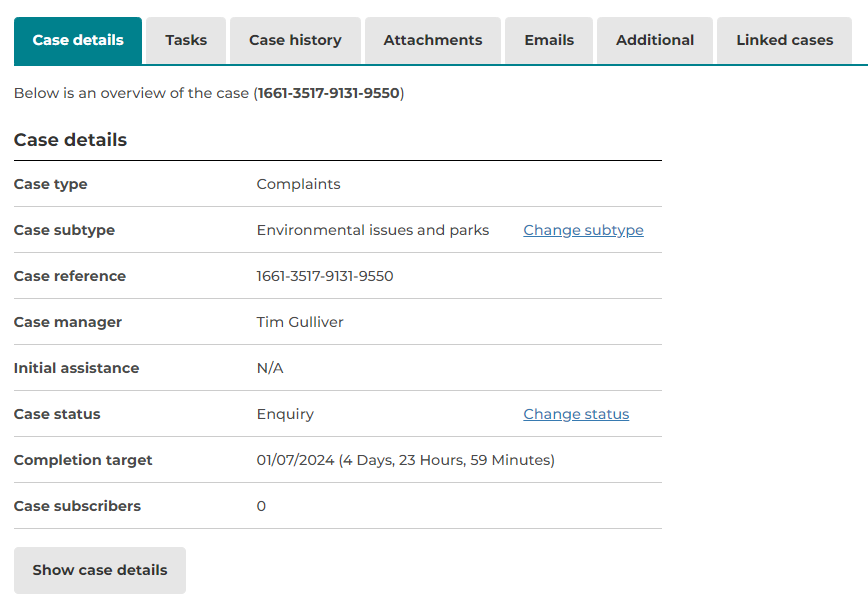
From here you can:
- See a summary of the complaint and view the full details
- Create and assign tasks
- View the case history, including any notes that have been added
- View any attachments and emails
- Add reporting information in the "Additional" tab
- Create and view links between cases
Case Stages and Statuses
As a complaint progresses, it will be assigned different stages and statuses. These help to keep complaints organised, but are also important for reporting purposes - the complaint dashboards let you see how many complaints have been resolved at each stage, as well as those that are resolved, active and escalated.
As you make changes to stages and statuses background Routines for Automated Updates will update SLAs and reassign the case for you.
These are some common stages and statuses. They can be edited (and more added) in the Complaint Case Type Configuration.
Stages
- Service request - All complaints are initially considered a service request until they are reviewed and found to be genuine
- Stage 1
- Stage 2
- Ombudsman
Statuses
- Service request - The initial status of the case
- Service request (with service) - The case has been assigned to the relevant department/service to be dealt with
- Service request resolved - The case has been resolved without needing to be classed as a complaint
- Stage 1 - The case is a stage 1 complaint
- Stage 1 resolved - The complaint has been resolved at stage 1
- Stage 2 - The case is a stage 2 complaint
- Stage 2 resolved - The complaint has been resolved at stage 2
- Ombudsman - The complaint has been passed to the ombudsman
- Ombudsman resolved - The complaint has been resolved at the ombudsman stage
Manual changes
Stages and statuses can be updated manually at any time.
To update the stage, press the "Change stage" action button, then pick a new stage:

To change the status, press the link next to the current status:

Tasks
Tasks are used to send emails to the complainant, assign jobs to other teams, or to formally record the results of investigations by the case manager.
Creating Tasks
On the Tasks tab, press the "Add new task" button:

Pick the task you'd like to create from the drop-down:
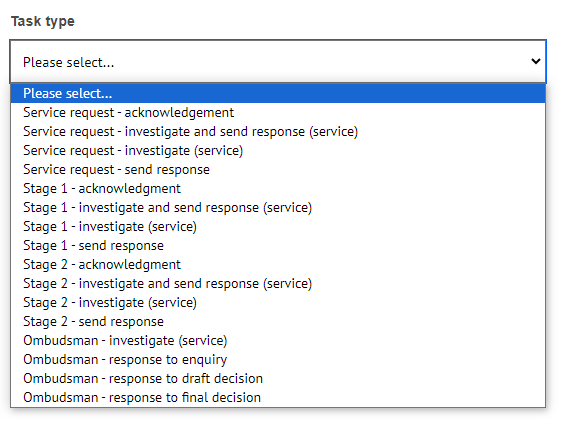
The tasks are used as follows. They are repeated at each stage. Any number of tasks can be configured for a case type, so this list isn't exhaustive and can be customised.
| Task | Description |
|---|---|
| Acknowledgement | This task is used to send an email to the person who raised complaint. Templated responses can be picked by the person carrying out the task |
| Investigate | The investigate task is usually assigned to another service/department. They perform the investigation, then complete the task by entering their findings. Notes are added to the case history and a link in the list of tasks allows the case manager to see the full response |
| Send response | This task is used by the case manager to send an email to the person who raised complaint. It is usually used once all of the investigations have taken place and the case manager needs to compile a response from them. Templated responses can also be picked by the person carrying out the task |
| Investigate and send response | This task is used when the department/service is able to carry out the investigation and respond directly to the complainant |
Tasks have a range of configuration options, including:
- Who they can be assigned to
- If SLAs apply, and what those SLAs are
- If a task has to be performed before the case can be closed
- How much information from the original case the person carrying out the task can see
- Adding notes for the person the task is assigned to, explaining what needs to be done
- Whether the person creating the task can set the options above, or they are applied automatically
Completing Tasks
Tasks assigned to a group will appear as a claimable task on the relevant Self Service Articles. Tasks can also be assigned directly to a user.
All tasks appear in a similar way:

Acknowledgement Task
Completing an acknowledge task involves sending an email to the user who raised the complaint:
- On the "Tasks" tab press "Add new task"
- From the drop-down pick the appropriate acknowledgement task and press continue
- The task is created and assigned directly to you
- The task form lets you pick a template which will prefill the email subject and body
- Placeholders in the email body should be manually updated
- You can add attachments
- Press "Send response" to complete the task and send the email
Investigate and Respond Task
If the complaint is straightforward and needs minimal investigation, the "Investigate and send response (service)" tasks can be used.
- On the "Tasks" tab press "Add new task"
- From the drop-down pick the appropriate "Investigate and send response (service)" and press continue
- Pick the department and optionally the user the task should be assigned to
- Enter the task details and choose whether attachments, contact details and case details should be included
- Optionally set an SLA
To complete the task:
- The task will appear in the "Active complaints" list of the relevant team
- The task form displays details about the complaint
- The form is used to send an email to the complainant
- The task form lets you pick a template which will prefill the email subject and body
- Placeholders in the email body should be manually updated
- You can add attachments
- Press "Send response" to complete the task and send the email
Investigate Task
Use the "Investigate (service)" tasks to assign tasks to other teams and users, but not email the complainant. These tasks only add notes and report back to the case manager.
- On the "Tasks" tab press "Add new task"
- From the drop-down pick the appropriate "Investigate (service)" and press continue
- Pick the department and optionally the user the task should be assigned to
- Enter the task details and choose whether attachments, contact details and case details should be included
- Optionally set an SLA
Completing the task involves the following:
- The task will appear in the "Active complaints" list of the relevant team
- The task form displays details about the complaint
- A text field and file upload field allow the user to enter a response
- Submitting the response completes the task
Any number of investigate tasks can be created and assigned to teams and users.
Response Task
Once the investigations have all been completed, they should be reviewed before writing a collated response to the complainant.
To create the response task:
- First review all of the completed tasks using the "View" action in the task tab
- Next "Add new task" and pick the appropriate "send response" and press continue
- The task is created and assigned directly to you
- The task form lets you pick a template which will prefill the email subject and body
- Placeholders in the email body should be manually updated
- You can add attachments
- Press "Send response" to complete the task and send the email
Automatic Updates
As tasks are created and completed, a range of Routines for Automated Updates will perform actions such as resetting SLAs, changing the case status and reassigning the case.
Closing Cases
Once a complaint has been investigated, and an appropriate response sent, it is ready to close. Cases can't normally be closed if there are any outstanding tasks. In the Complaint Case Type Configuration it's also possible to set a task as mandatory, so it will have to be performed before the case can be closed.
Closing a case is a two step process. First the outcome is recorded, and the case moves from "active" to "responded". This acts as a "soft close" allowing the person who raised the complaint to respond. At a later date, the case can be fully closed.
Recording the Outcome
Once the investigation has taken place and the response sent, the case "Additional" tab is used to record the outcome and any additional metrics that may be needed for reporting.
- Go to the "Additional" tab and press "Add additional details"
- Complete the form
- Press "Complete" to record the outcome
- The following will happen automatically:
- The status is changed to "Resolved"
- The SLA is stopped
- The case is removed from the case manager's assigned tasks
- The case moves from "Active complaints" to "Responded complaints"
Closing the Case
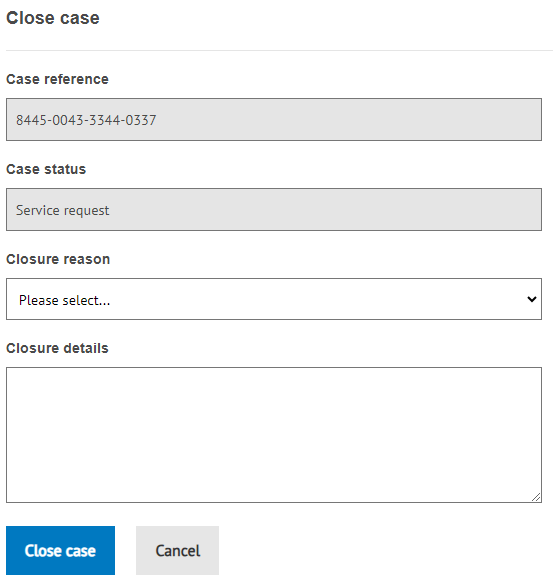
When you close a case, the resolution is picked from a drop-down of options set in the case configuration. Notes are also added that will appear in the case history:
