iCM lets you run a range of reports, including on the activity of users, content items that have been added, updated or deleted, items that have scheduled updates due, form submissions saved to the iCM database, unused media items, workflow activity and published end points.
Access to reports and the ability to add, edit and view them are granted via a user's Management Privileges.
Generating a Report
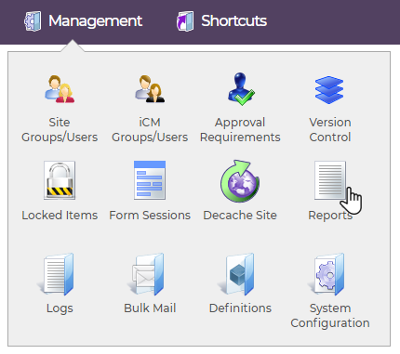
All reports are generated form the Reports section of iCM Management.
The reports home screen lists any reports that have already been set up to run on demand, or on a schedule. You can generate reports that have already been set up by right-clicking on them and choosing "Generate report". The right-click context menu also lets you view or edit the settings for an existing report, or delete it (deleted reports can be recreated).
New reports
To schedule a new report, save a report that can be run on demand, or to just run a report as a one-off in your current iCM session, click "Create a report" in the actions panel.
Creating new reports is a two step process.
Step 1 - Define the Report
The first page of the new report section lets you set what you would like to report on, and pick the date range the report should cover.
The report type drop-down lists all of the available report currently configured in iCM.

You can find the .cfm script files that actually do the work of querying the iCM database to generate a report in the icm\custom\reports directory (often accessible using the File Manager). If you develop new reports, or new reports are released by us here at GOSS, they'll need to be added to this directory so that they show up in the report type drop-down.
For some reports, like content added, you set an item type. This drop-down lets you pick between articles, media or both. This drop-down isn't relevant to all report types.
Finally some reports let you pick an iCM user or group of users you would like to limit your report to.
Next up you can define a date range. While not relevant to all reports (for example, setting a date range for friendly URLs doesn't make sense), most reports can be limited to a preset, relative or fixed date range.

The report information section provides a summary and help text for the report type you have chosen.

Reports behave differently depending upon the iCM URL you are logged in on. Some reports can be limited to reporting on content within the subsite URL you are currently using, others benefit from being run at the iCM enterprise level. You'll find this information in the report information panel.
Step 2 - Scheduling the Report
Once you are happy with your report, click "Next step" in the action panel.
This screen lets you configure when your report will run.
If you'd like to run the report right now, and not save your settings to be used again, select now. The report results will be displayed on the next screen.
You can save the report to be run on demand by picking "On demand". Your report settings will be saved and you'll be taken back to the report homepage. You can then right-click on your new report to generate it.
Finally you can schedule your report.
Scheduled reports can be run once, or can recur daily, weekly or monthly, at a set time between two dates. You can leave the end date blank if you want the report to run forever.
Scheduled reports email their results to the listed recipients (use a comma separated list of email addresses) as a csv file.
Share this page


