Location
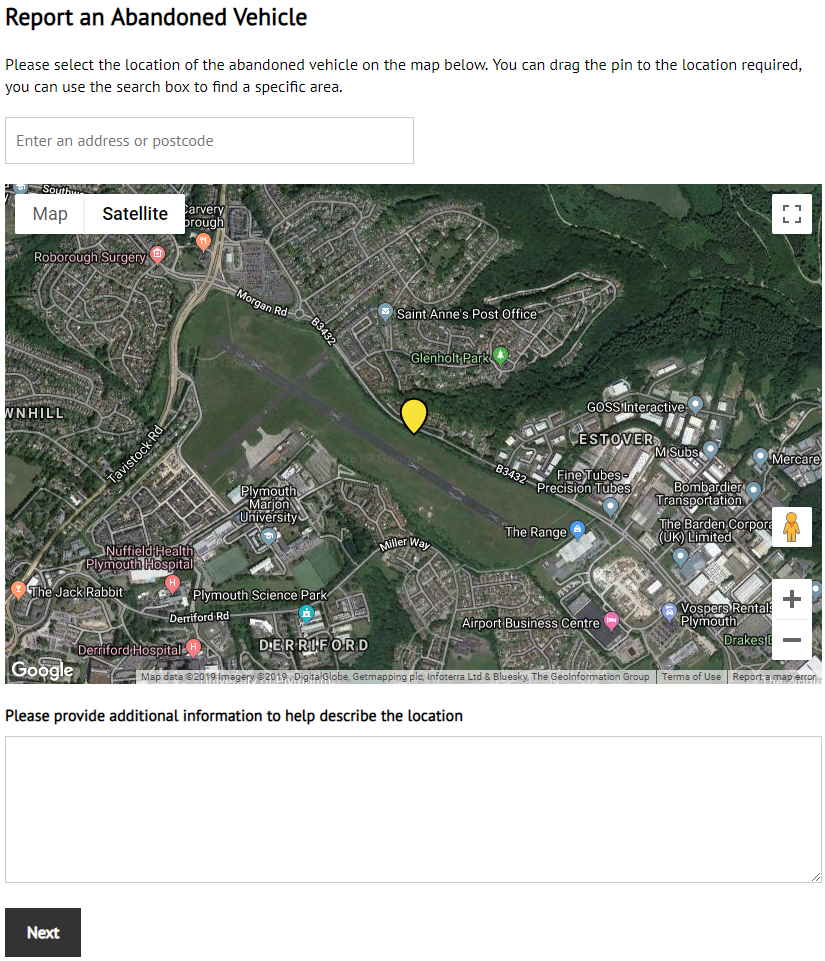
To submit a report you first need to select the location of whatever it is you are reporting.
The map for each report type can be set up to use Google Maps or Open Street Map. The Open Street Map provider can be set up to use different base maps, including ArcGIS and Astun.
When making a report you can type the address, enter a postcode, or move the map pin to select a location. You can also use your current location.
Additional information can be entered in the text area box, which appears once the map pin has been set.
Boundaries
If the report type has been set up to use boundaries, the valid boundary is shown on the map. Attempting to select a location outside of the boundary area displays a warning and pans the valid boundary into view.
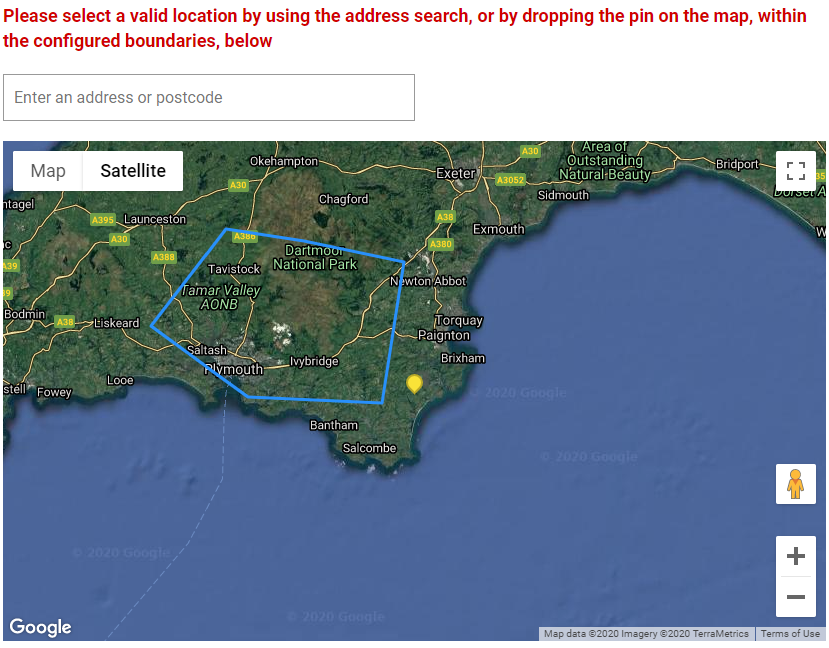
Enabling a boundary also restricts the search. This is done by creating a bounding rectangle that contains the boundary and only returning results within that rectangle.
Boundaries are defined using GeoJSON. You can set up a default boundary for all map providers in the Report It configuration, or set a boundary for each provider. A boundary can then be turned on or off per report type. See Additional Configuration for more information.
Confirm Location
Once a user has chosen a location a further, optional page, can be displayed to them. This page displays a zoomed-in area of the map with their pin at the centre. The user is prompted to confirm the exact location of their report before moving on.
This page can be enabled/disabled in the report configuration.
Existing Reports
Once you've picked a location, Report It can be configured to show existing reports nearby.
Which Reports
In the configuration options for your report type you can set the radius to check and the age of the incidents to show. By default only existing reports of the same type will be shown, but you can add additional types in the configuration. You can also choose whether or not to show closed/resolved reports.
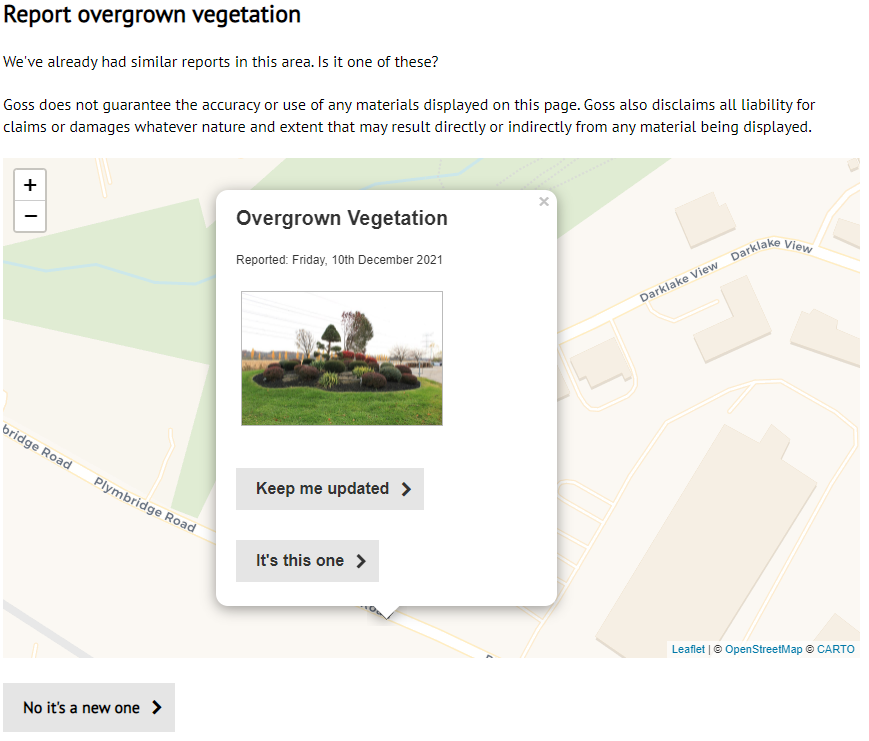
Report Pop-Up
If the images uploaded with existing reports are set to be shown, those images won't appear until they have gone through the image approval process (see Handling Reports).
If you choose "It's this one" you are taken to a confirmation message that thanks you for confirming the report and gives a count of the number of people who have reported it.
Picking "No it's a new one" continues the reporting process.
Additional Information
All existing reports show the date and time that the report was made. It is possible to display additional information here by copying and modifying the Report It form, creating bespoke forms for your report type. This is an advanced feature documented on Advanced Use - Customising the Report Form.
Subscriptions
You can subscribe to updates about existing reports. The "Keep me updated" button takes you to a confirmation page that also lets you enter your email address so you can receive updates.
Note that subscriptions are a feature that is only available when your reports are raising cases in Case Management. Report It adds the provided email address to the relevant case and all updates are handled via tools in Case Management itself.
Subscriptions are a configuration option when you are setting up report types.
Further Information - Type and Uploads
By this stage you've entered the location of the thing you are reporting and been able to check that it hasn't already been reported.
Type of Incident
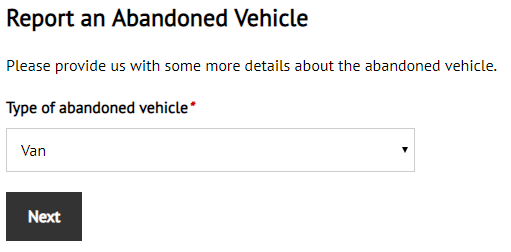
If relevant, you can configure a drop-down of refinements to appear. This could be used to categorise whatever is being reported in a standard way.
For example, you might allow users to pick the type of waste that's been fly-tipped or, as in the example below, the type of vehicle that's been abandoned.
Uploading Images
Between one and five images can be uploaded with a report - the maximum number is set in the configuration.
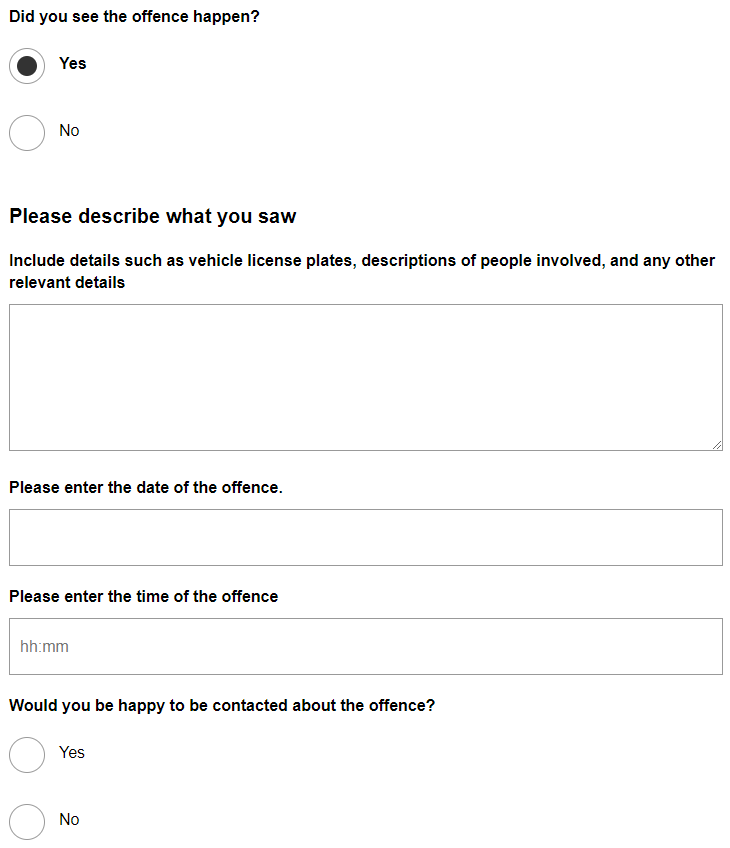
Further Information - Witnesses and My Details
The final sections of the report let you enter witness details and your own contact information. Both pages can be disabled.
If the witness page is set to display you can enter the date, time, details in a free text area, and say whether or not you are willing to be contacted.
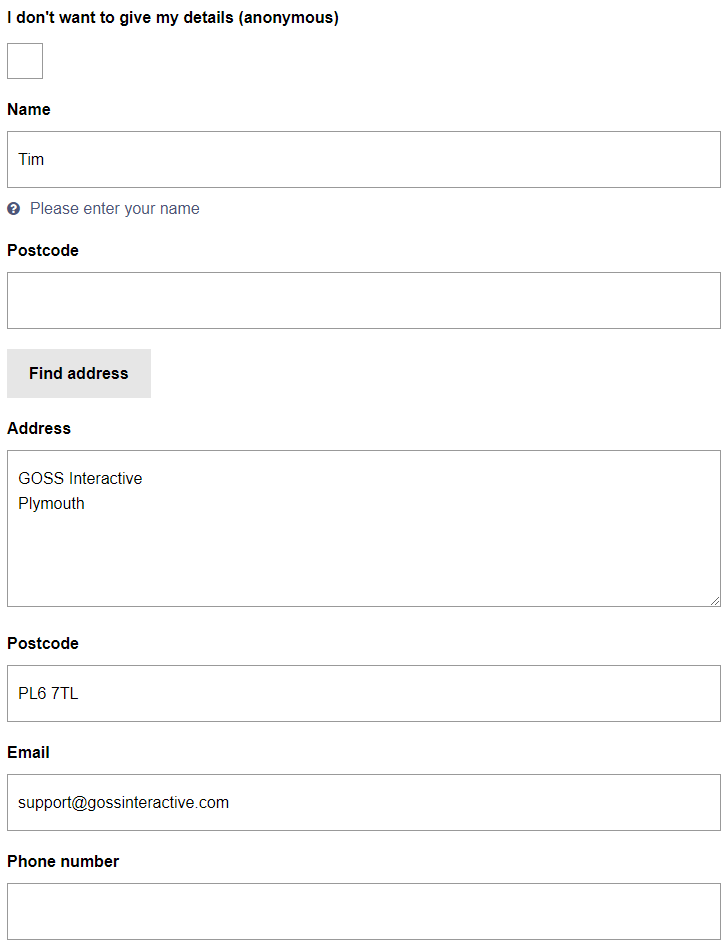
The final page of the form lets you enter your own contact details. You can also choose to submit the report anonymously.
Share this page


