Introduction
Tasks are jobs assigned to users during the lifetime of a case. They are a formal piece of work that needs to be completed and recorded as part of resolving the case.
We've created a range of standard tasks, but it's also possible to design your own. Any form can be integrated with a case and turned into a task form by adding some form snippets to it.
This article describes using the "multipurpose" task snippets to create a custom task. It will use a single form, assigned to another user, which they must fill out to complete the task.
You can also create custom task workflows to create more complex tasks that have multiple stages.
What is a Task?
A task is generated during a case, either automatically when the case starts, or created manually by the case manager.
A task can be assigned to a user, or created for one of a group of users to claim.
Tasks will typically involve the assigned user filling out a form which, when submitted, passes data back to the parent case. When this form is filled out, the task is complete.
Design a Task Form
You can turn any form into a task form.
Your form must be named following the Form Language and Version Numbering convention - that means the name of your form should end with V1EN or V1CY.
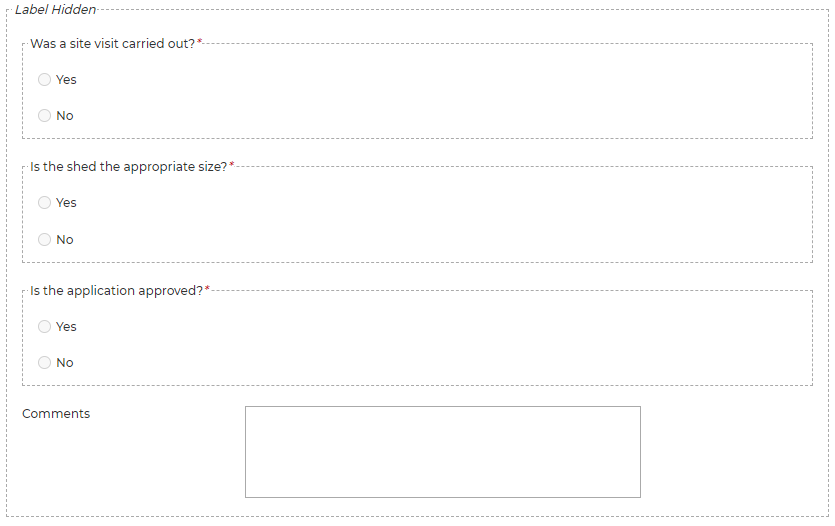
The example form below is part of an allotment management process. It is used once a request has been made to put up a new shed. The case manager will assign the task (form) to the grounds team, who will inspect the site, assess the shed, then complete the form.
Once you are happy with your form, it needs to be integrated with Case Management.
Add the Start Snippet
Add the "CM Multipurpose Start" snippet to the top of the first page of your form. There's no need to edit any of the fields.

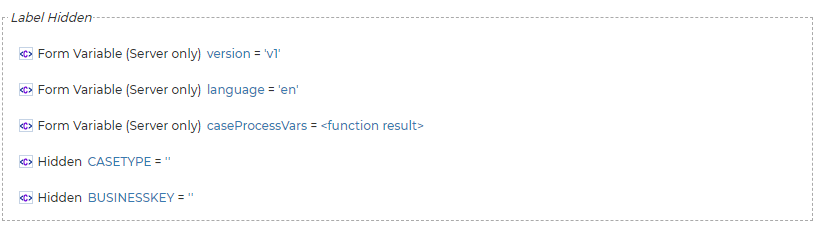
Advanced Feature - Case Process Variables
The snippet includes a
{
    processName: 'casemanagementv1',
    businessKey: helper.queryFieldValue('CASEBUSINESSKEY'),
    limitTo: ['form_SITE']
}
The variables you request are returned in a server-side form variable:
caseProcessVars = {Which could be used in the default functions of other fields on your page:
"form_SITE": "Plymouth"
}
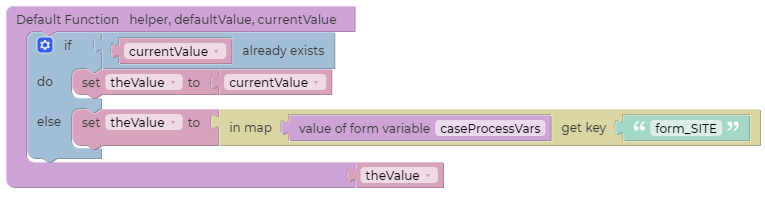
function(helper, defaultValue, currentValue) {
    var theValue;
    if (currentValue !== undefined) {
        theValue = currentValue;
    } else {
        theValue = helper.getVariable('caseProcessVars.form_SITE');
    }
    return theValue;
}
Add the End Snippet
Add the "CM Multipurpose End" snippet to the bottom of the final page of your form. It includes all of the buttons you'll need.
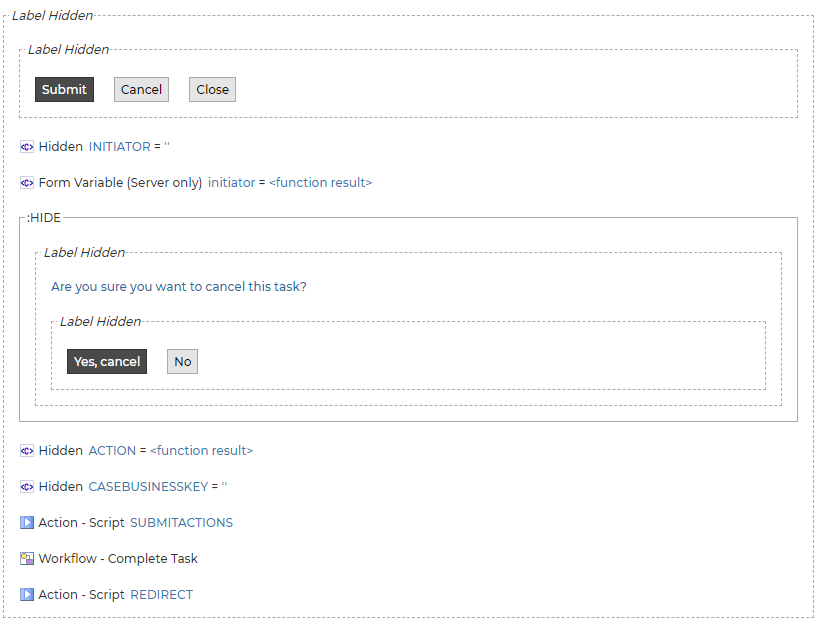
Cancel buttons
The snippet includes logic to be able to cancel the task. This is only available to the user who created the task.
When a user presses the Cancel button, the snippet displays the confirmation buttons. You need to add logic to your form to hide the confirmation buttons until the Cancel button is pressed.
In the page settings, open the Client Init Handler:
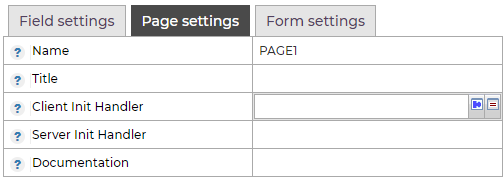
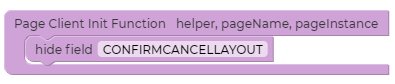
And add the following to hide the CONFIRMCANCELLAYOUT and all of its fields:
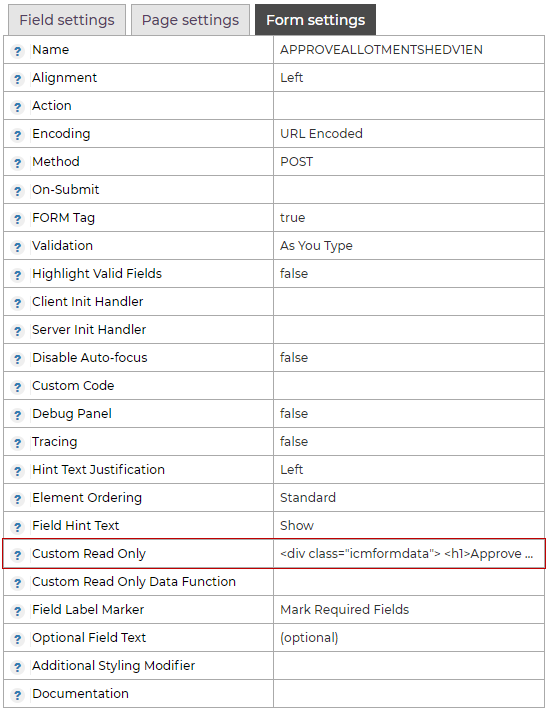
Create a Read-only Summary
In the "Form settings" section of the Forms designer, create a "Custom Read Only" template. This is the view of the form that will be used when the task is viewed by a user, using the "View" link on the case task tab, and by templates like Self Service and User Requests.
You can use the default summary as a starting point:
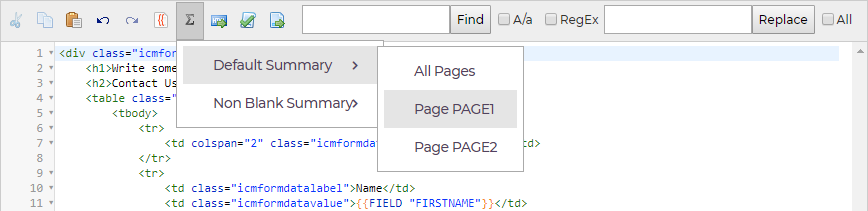
At the very least you will need to delete the sections at the top and bottom of the default summary that relate to the start and end snippets.
There's more information about Handlebars templates in the Handlebars Editors documentation.
Configuring a Task for a Case
Now that you have your task form you need to make the task available to your case type.
- In the Configuration Manager, find the case you'd like to add the task to
- Open the "Tasks" configuration
- Choose "Add existing task"
- Pick "multipurpose" from the drop-down and "add selected task to case type"
- Enter a meaningful task name that will be visible in Case Management
- Choose the SLA and assignment options
- All tasks start the "cmmultipurposev1" workflow and use the "CASEMANAGEMENTMULTIPURPOSEENQUIRYVIEW" form for their read-only modes so these options are prefilled
- Check your options and submit
- Enter the name of your task form (created above) on the final page
Self Service Article Extras
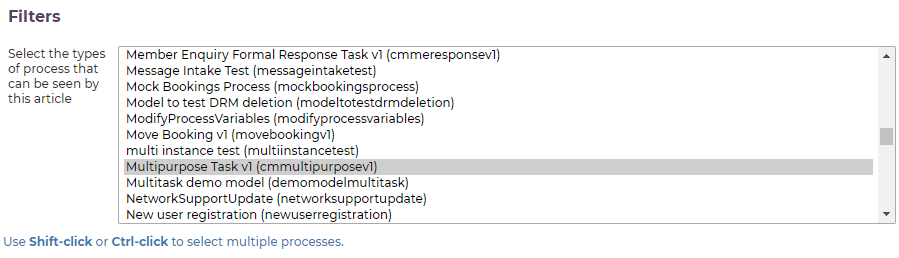
So that users can claim and work on your task, any articles that use the Self Service or User Request templates will need to be updated.
The "CM Multipurpose Start" snippet starts a workflow process called "Multipurpose Task". Pick that workflow process in the article extras of your Self Service template so users can claim and carry out your custom task:
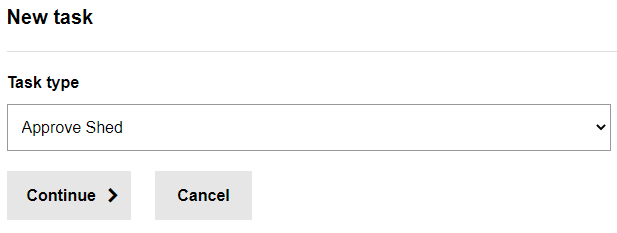
Using your Task
Now that your task has been configured it will be available to case managers in the Tasks tab:
The task behaves exactly like any other. See Case Tasks for more information.
Share this page


