1. Overview
What you'll learn
In this tutorial you'll create and publish your first form using the iCM Forms Designer. You learn about naming your form, adding fields to your form, and publishing it on your website.
What you'll build
A form that can be used in future tutorials. It has basic input fields and sends an email.
What you'll need
- A browser with access to iCM
- iCM user permissions to add, edit and publish forms
- iCM user permissions to add, edit and publish articles
- An area of your site, or development site, where you can safely publish test content
2. Setup
There are no set-up steps in this tutorial, we're starting from scratch!
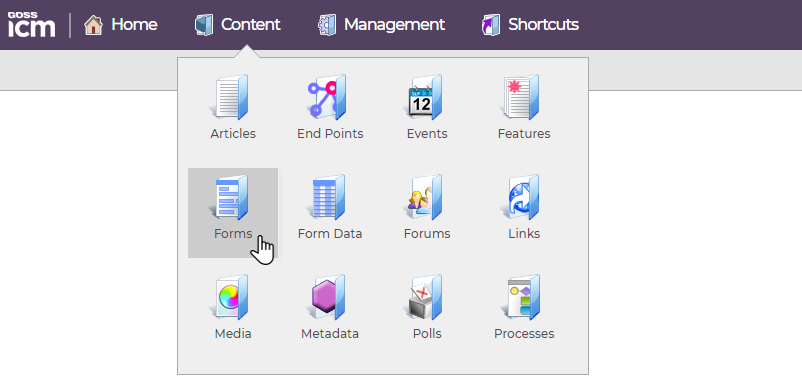
Open the Forms Library
All of the forms in iCM are stored in the Forms Library. You'll find forms in the top content menu.
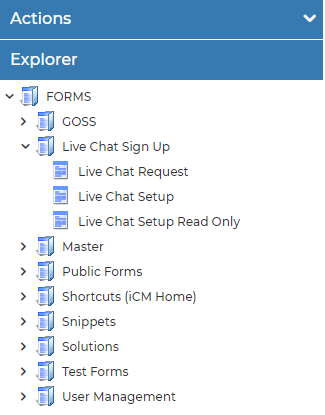
Forms Explorer
The left hand panel is called the Forms Explorer. It shows all of the forms and form groups your user has permission to access.
Right-click on a group, then choose "Create a form" and "Public Form".
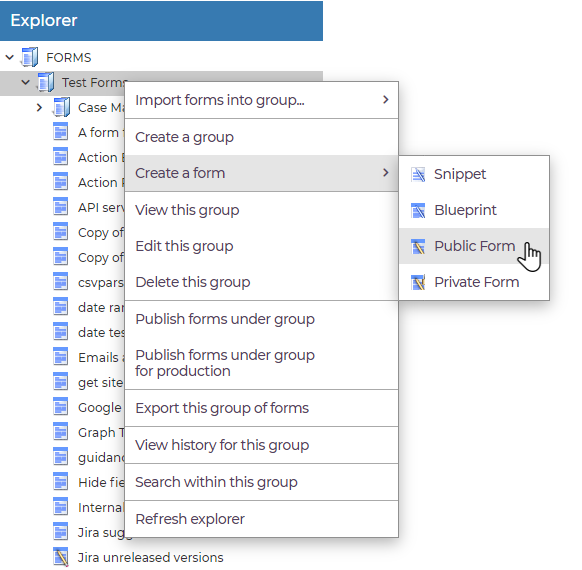
There's more information about form groups and the different types of form in the Managing Forms documentation.
3. Name your form
All forms have a unique name and a description.
Names can only contain letters and numbers and cannot have spaces. Names don't appear anywhere on your site, but sometimes need to be entered when configuring other products, so it's best to give your form a meaningful name.
Descriptions appear in the menus in iCM and may appear on your site, so add a description that will make sense to other users.
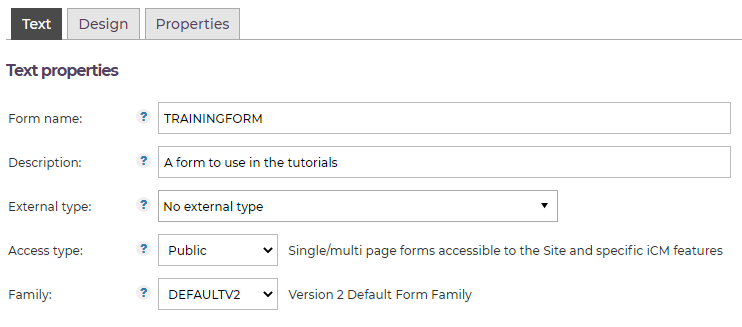
You can ignore the other options on this tab.
4. Add a layout field
The design tab shows the first page of your form. At the moment it is blank.
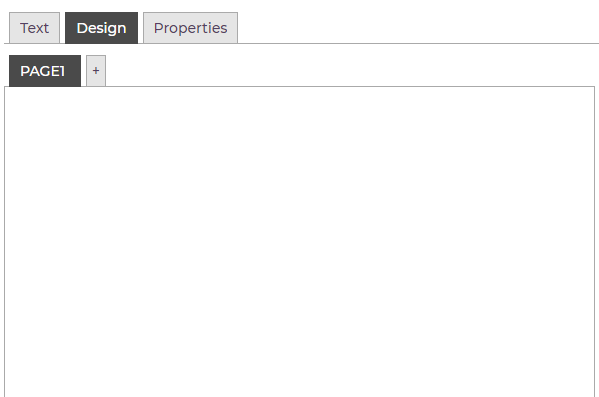
We're going to drag fields from the right-hand tool box into the design area.
Tool Box
The tool box holds all of the fields and snippets you can use to build your form.
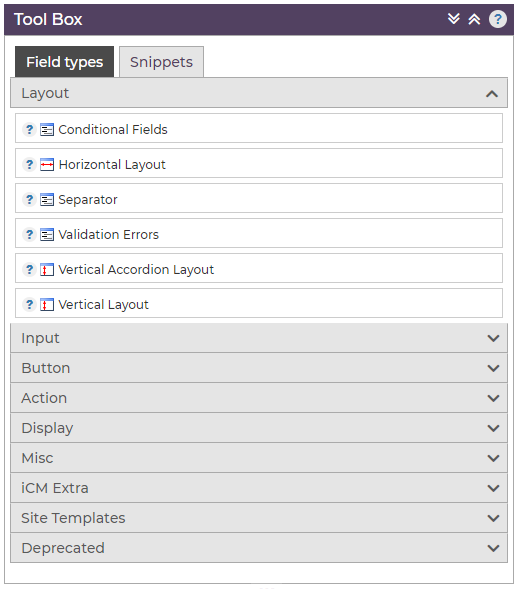
Form fields are organised into categories. Expand the categories to see the fields that are available.
Layout fields
Most fields need to be placed inside a layout field. Layout fields give structure to your page. The most common layout you will use (maybe the only one you'll use in most forms) is the Vertical Layout.
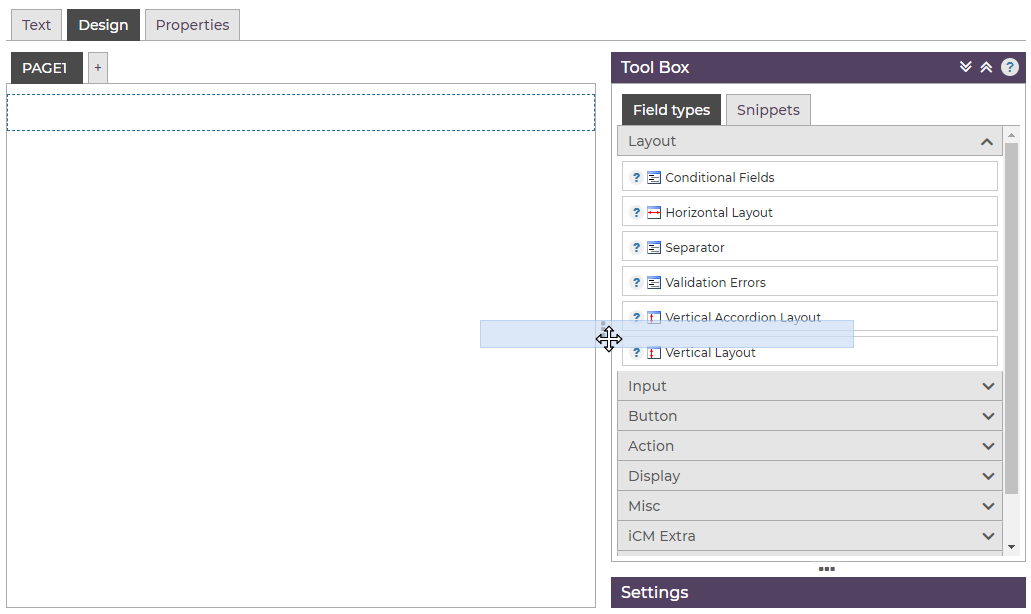
Click on the Vertical Layout and drag and drop it into the design area.
Field settings
All fields on your form have a name. By default they will be called FIELD1, FIELD2 etc. We recommend giving all of your form fields meaningful names - this makes them easier to work with.
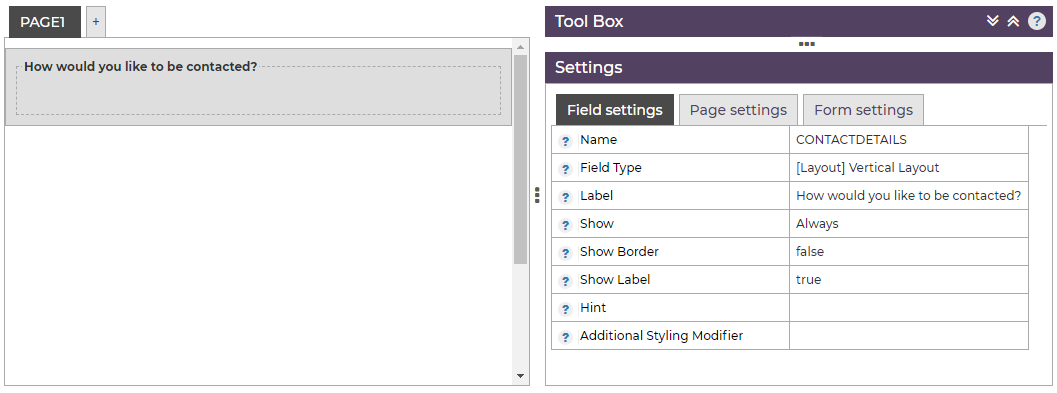
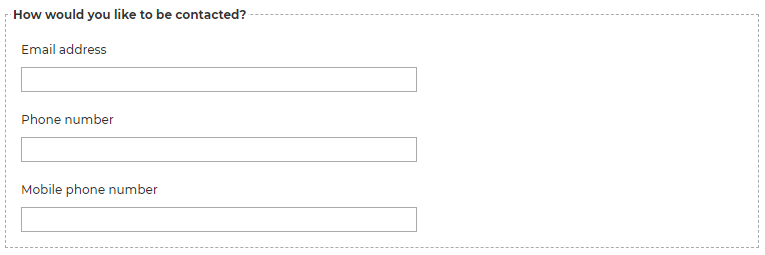
The set of fields in this tutorial are going to collect contact information. Click on your layout field, then in the field settings, enter the name CONTACTDETAILS.
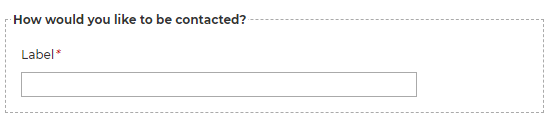
Field labels appear next to the field they describe. Give this layout the label "How would you like to be contacted?" Make sure the "Show Label" setting is true.
Your layout should look like this.
5. Add an input field
Next we'll add some input fields that users can fill out.
Text inputs
Text input fields are one of the most common fields used in forms. They let users enter a single line of text.
In the tool box, expand the Input category and find the Text Input field. Drag and drop a text input into your layout.
Incorrect placement
Text input fields have to be placed inside layouts. If an input field isn't inside a layout, it will be highlighted red.
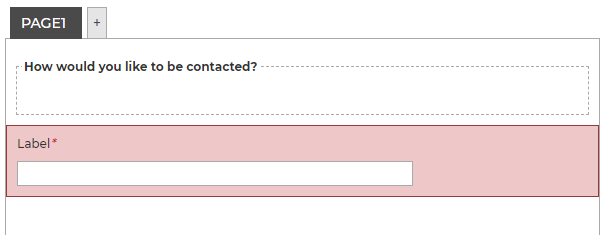
The forms designer uses this warning whenever a field is placed incorrectly. You can click on a problem field and drag it to a new location inside the layout.
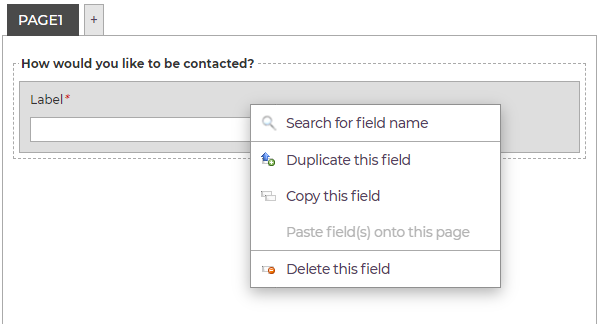
Deleting fields
If you need to delete a field, right-click on it and choose "Delete this field".
6. Input field settings
Text input fields have many more settings that layout fields. Click on your new input field to see all of them.
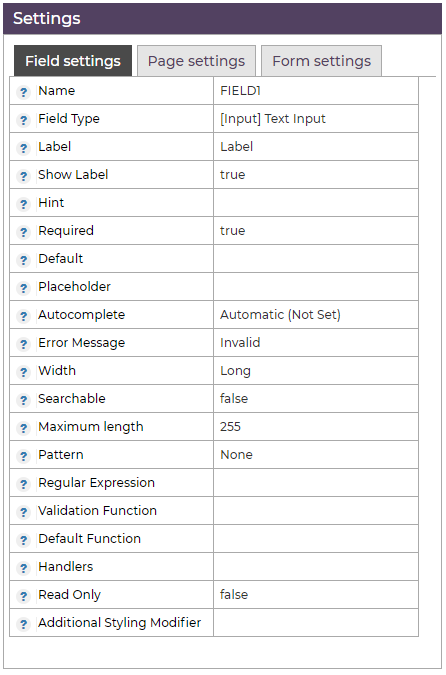
Update the settings
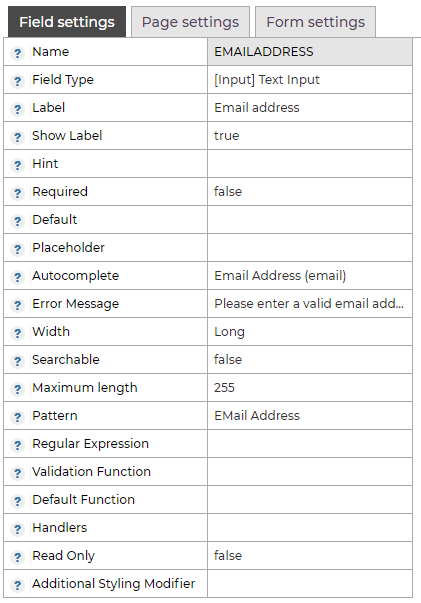
This input field is for someone to enter their email address. Update the following settings.
- Name: EMAILADDRESS - A proper name makes your field easier to work with
- Label: Email address - The person filling out your form will see this text
- Required: false - In this example all of the fields are going to be optional. We'll cover required and optional fields in another tutorial
- Autocomplete: Email Address - If the person filling out your form has their email saved in their browser or device ( this is really common on mobiles) it will be automatically filled out for them
- Error message: Please enter a valid email address - The user will see this message if there's a problem. We always recommend entering something more meaningful that the default "invalid"
- Pattern: Email address - The forms designer has built-in patterns that will check that the text entered into the field is in the correct format
Your completed field should look like this.
7. Adding more fields
Add two more text input fields to your layout field. One for phone number, one for mobile phone number.
Phone number settings
Update the phone number settings to the following:
- Name: PHONENUMBER
- Label: Phone number
- Required: false
- Autocomplete: Phone Number
- Error message: Please enter your phone number
Mobile number settings
Update the mobile number settings to the following:
- Name: MOBILE
- Label: Mobile phone number
- Required: false
- Autocomplete: Phone Number
- Error message: Please enter your mobile number
8. Buttons and Actions
Next we need to decide what will happen when the form is completed.
Add a submit button
Find the submit button in the Buttons category.
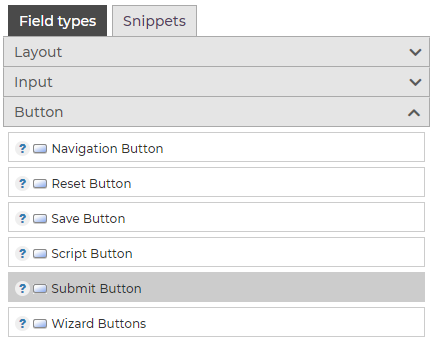
Place the button at the very bottom of your form. Unlike input fields, buttons don't have to be placed inside layouts.
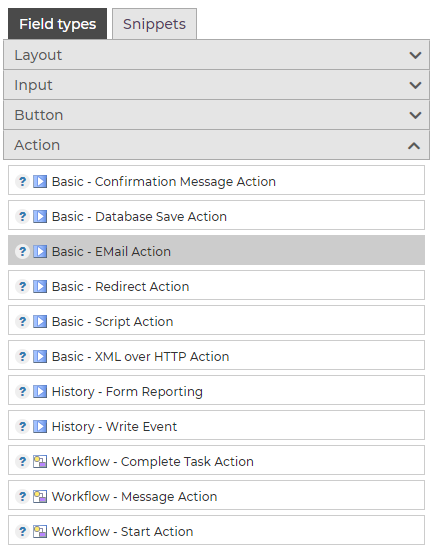
Add an email action field
Action fields are processed when the page of a form is submitted. They can send emails, start workflow processes, save data, and redirect the user to other websites or payment providers.
In this example we want the form to send an email. Find the email action and add it to your form, beneath the submit button.
Select the email action field and enter your email address in the "To" field. Leaving the "From" field blank will use the default address in your system settings. Leave the "Body" field blank to include a full copy of the form submission.
Add a confirmation message action
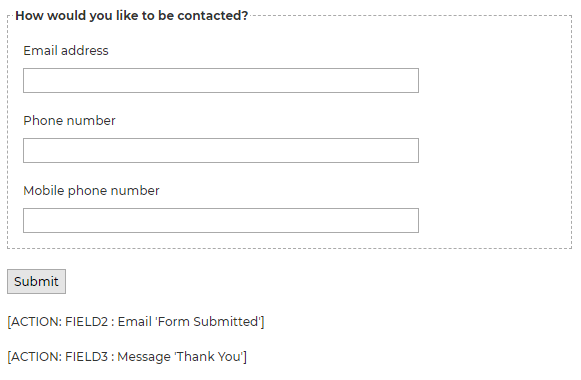
The confirmation message field displays a message once your form has been submitted. Place the action field as the final field on your form. You can change the "Message" to anything you would like to display to the user.
Your final form should now look like this:
9. Publish your form
Your form is now ready to publish.
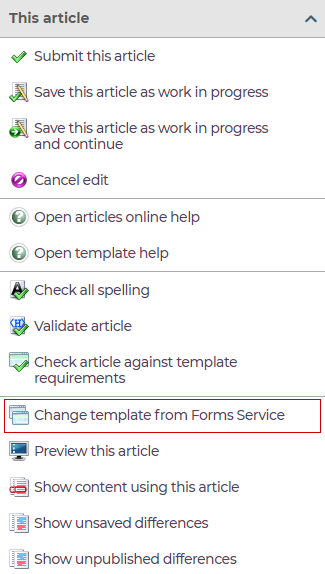
Press "Save/publish this form" in the left hand action panel.

This first saves the form design as a work in progress form, with the option to add a comment for version history, then takes you to the publish view. This second screen provides a read-only view of the form, displays any relevant warnings or additional information, and lets you "Publish this form" from the action panel.
Create an article
Finally we need to create an article that will display your form on your website.
Create an article in your test or development website (or suitably secure training area of any site) and set it to use the Forms Service template.
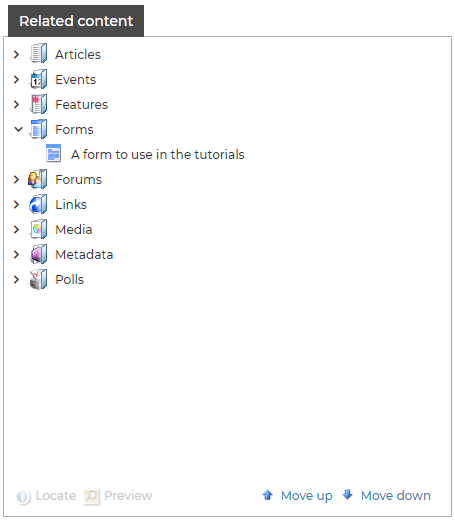
On the Related Content tab, find your form in the left-hand panel and add it to the right-hand panel.
Submit your article and visit your new form on your website to test it.
10. Congratulations!
You have now built your first form. In this tutorial you learnt:
- How forms are organised into groups
- How to create a public form
- How to add fields to a form
- The importance of naming forms and fields
- How form settings like labels, autocomplete, error messages and patterns help users to complete your form
- That action fields are processed when a page is submitted
- How to use the email and confirmation message action field
Further reading
The following pages provide more information about forms and the forms designer.
- Form Groups - Creating and editing form groups, and importing, exporting and publishing groups of forms
- Form Fields - Information and examples for all of the fields you can use in your forms
- Publishing Forms - Saving forms as work in progress, unpublishing forms and publishing "for production"
- Using the Forms Designer - An overview of all of the menus, settings and terminology used in the designer
- Control who can edit which forms via user Content Privileges and iCM Content Roots
Share this page


